Do you remember when you did your first 6-ring planner setup? For me, it was a pretty overwhelming experience to know where to start… what planner inserts do I choose? How many do I need? What should I put in each section?
Maybe you’re yet to fully dive into the planner world, because let’s face it, it can be hard to know where to start. I recently posted a poll on Instagram to see how many people felt overwhelmed when they were setting up their first planner, and it turns out most of us were in the same boat. So, if you’re creating your first 6-ring planner setup and need a little help on where to start, here are a few tips to get you on your way to creating the best 6-ring planner setup for you:
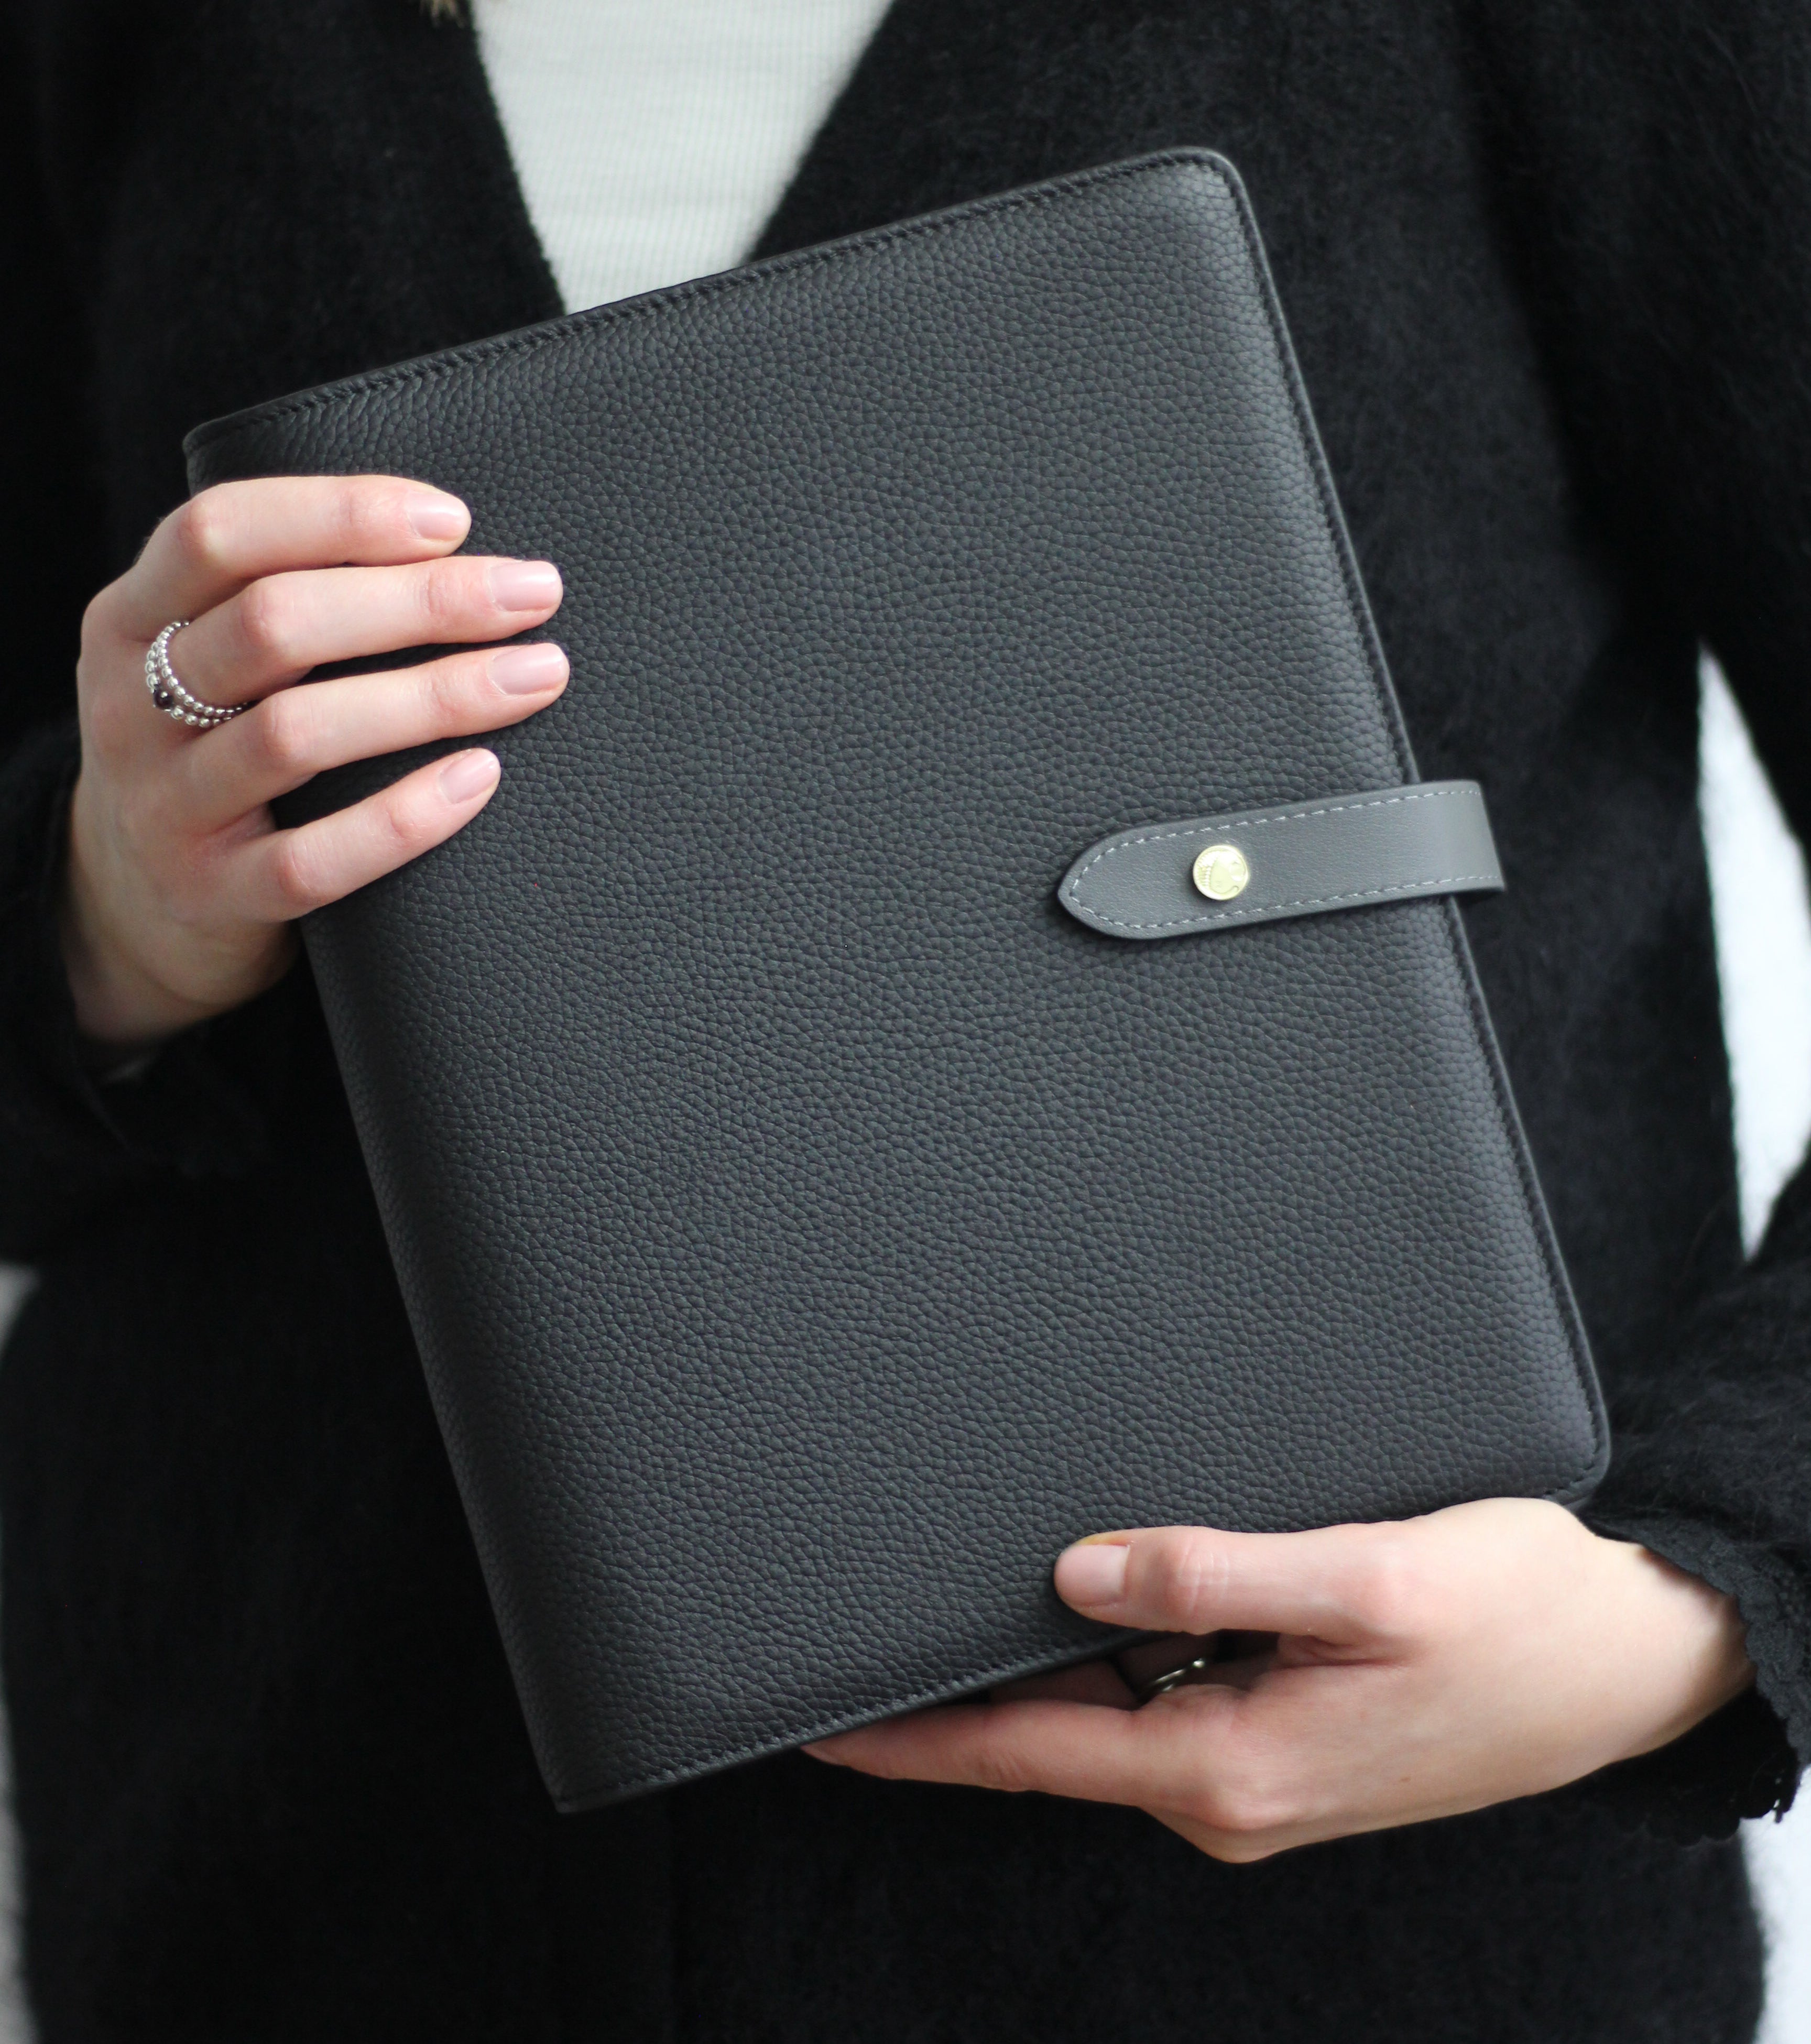
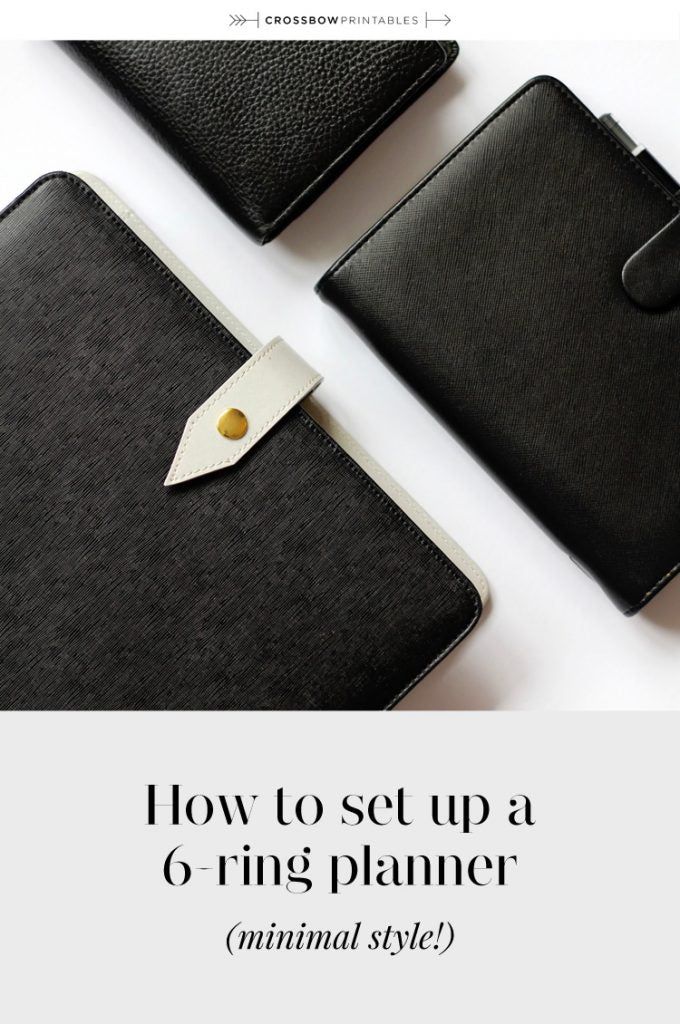
1. Choose a planner size that is right for you.
There are lots of sizes to choose from, but for now I’ll address the most popular three. From biggest to smallest, they are: A5, personal size & pocket size. The best way to find out which is right for you is to go to a local stationery store to see them in person. Think about whether you’ll be keeping your planner at home, or carrying it around. If you’re using it on the go, you may find personal size or pocket size will work for you, because an A5 planner can get pretty hefty! But if it’s going to be used primarily at home or work, you may love (or need!) the extra space in an A5.
2. The second question is: will you use printable or printed inserts?
Printable inserts are PDF versions of the planners that you can download and print, cut and hole-punch yourself. They’re ideal if you don’t mind a bit of DIY and want to keep the costs low, (but remember to put a 6-hole punch and a guillotine on your shopping list!). Otherwise, if you want a finished product professionally printed onto beautiful paper, go for printed.
3. Now for the fun part—time to choose your planner inserts!
It can be overwhelming to choose your inserts, so before you go to a shop like mine that has a million different options, take a few minutes to write a list of what you need to track in your planner. Is it monthly dates? Weekly to dos? Goals? Or are you hoping to get on top of cleaning, budget planning and your health? Start with a list so that you won’t be distracted by all the options.
4. Don’t forget the dividers!
You’ll need them to split your planner into sections that you can easily flip to. So, remember when choosing your inserts that you’ll most likely have 6 sections to fill.
If you’re still a little overwhelmed, don’t worry, I’ve got you covered! I’ve put together something I wish I would have had at the start of my planning journey – a Complete Planner Setup Kit! It’s a full setup of all the essential planner inserts you need to get planning, with 87 planner inserts, (printed front and back to make 175 planners), plus one of my trademark vellum quote cover pages.
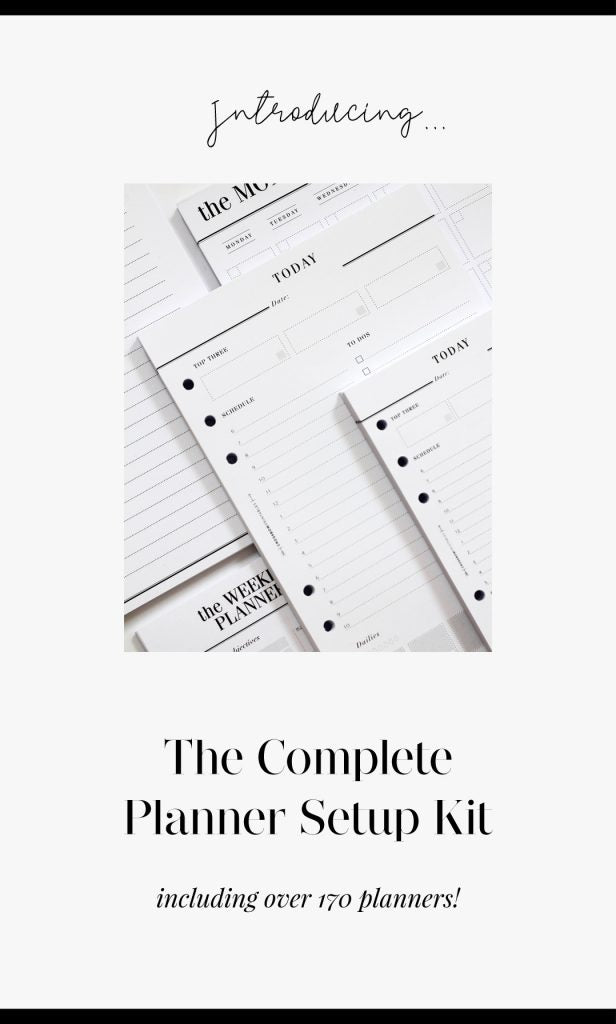
At the click of a button, you’ll have a pre-organised 6-section, minimal planner insert setup to help plan your months, weeks, goals and to dos. You can even add dividers if you want to complete the minimal ‘Crossbow’ look. If you’d like to take a look at what’s included, you can shop my complete 6-ring planner setups here. (Available in A5, personal size and pocket size).

Starting at £22.50
I hope these tips and my complete planner setup kit will make it so much easier for you to set up your new planner. If you have any feedback questions, please feel free to comment below.
Happy planning!
Jordan x